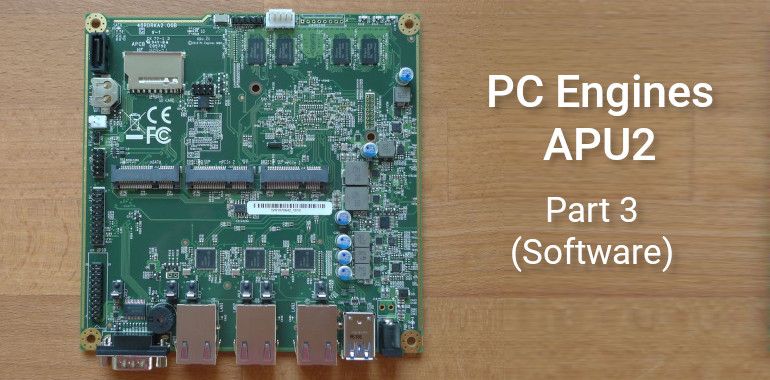
Comprehensive Guide to PC Engines APU2 - Part 3 (Software)
Update 2021: No longer recommended due to shortage. https://www.pcengines.ch/leadtime.htm "Due to an extended shortage for the NICs used on our boards, we will not be able to make regular deliveries in the next few months. The lead time for new NIC orders is quoted around 52 weeks."
I will be covering OPNsense for this guide. It's an open source, FreeBSD based firewall, which started as a fork of pfSense. Both are among the most popular open source firewalls.
Why FreeBSD based?
FreeBSD has a robust, high performance network stack, and it powers some of the world's busiest servers, such as Netflix and WhatsApp.
According to this 2019 presentation, Netflix was able to achieve 90 Gb/s serving TLS-encrypted connections with ~55% CPU on a 16-core 2.6-GHz CPU, using FreeBSD and commodity parts.
Why OPNsense?
OPNsense is a feature-rich and user-friendly firewall. It comes with an intuitive user interface, and it's easy to get started. It's also well maintained and updates are released regularly.
Installing OPNsense
The official documentation is pretty good, so I will just add some extra supplementary notes.
Image files
You can find the images at the official OPNSense download page.
There are 4 image types, but only the serial and nano images are applicable because the APU2 doesn't comes with any graphics ports.
The nano (embedded) type is meant for storage media with limited write/erase cycles like SD cards and USB thumb drives. Logging and cache data is stored only in memory to help prolong the media's lifespan.
The serial type is an installer image which boots up in live mode and can enter into installer mode to install onto another storage media. Live mode is read only, so changes do not persist after reboot.
Even with the latest firmware, the nano image still doesn't work well with thumb drives, connected via the external USB 3.0 ports. I have repeatedly encountered errors during booting, and here's how the error messages look like.
(da0:umass-sim0:0:0:0): READ(10). CDB: 28 00 01 ca 3f ff 00 00 01 00
(da0:umass-sim0:0:0:0): CAM status: CCB request completed with an error
(da0:umass-sim0:0:0:0): Retrying command, 1 more tries remain
(da0:umass-sim0:0:0:0): READ(10). CDB: 28 00 01 ca 3f ff 00 00 01 00
(da0:umass-sim0:0:0:0): CAM status: CCB request completed with an error
(da0:umass-sim0:0:0:0): Retrying command, 0 more tries remain
(da0:umass-sim0:0:0:0): READ(10). CDB: 28 00 01 ca 3f ff 00 00 01 00
(da0:umass-sim0:0:0:0): CAM status: CCB request completed with an error
(da0:umass-sim0:0:0:0): Error 5, Retries exhausted
As mentioned in Part 1 of this guide, the only way to get thumb drives to reliably boot into OPNsense is to use the internal USB 2.0 headers.
Ethernet Ports Sequence

As shown in the image above, the ethernet port right beside the serial port is the first port, igb0, and it continues in ascending order, igb1, igb2.
By default, OPNsense will configure the first port, igb0 as LAN, and the second port, igb1 as WAN. So if you connect the ethernet cables as such, you can skip the manual interface assignment.
Proper Shutdown
To prevent drives from being corrupted, it's best to shut down properly, using either the web or console interface.
SD cards and thumb drives tend to get corrupted easily, and possibly irreparable. In such cases, the fsck (file system consistency check) command won't be able to fix it and the only solution is to reinstall or reformat the drive and start fresh again.
So avoid switching off the power without proper shutdown. Also, make sure the power LED is off before switching it off.
It's possible to initiate shutdown via the API, which I will cover towards the end of this guide.
Post-installation
The installation process is pretty straightforward, and once you are done, here are some extra customisations that you can consider.
Login to Web Interface
First, log into the web interface. Here are the default values, do remember to change the root password if you have not done so.
URL: https://192.168.1.1
Username: root
Password: opnsense
If you see an error about the HTTPS connection, you can ignore it.
Troubleshooting WAN IP
If your WAN interface isn't assigned an IP address, try disabling and enabling it. Or if you are on static IP, you can get the values from your ISP to configure it as static mode.
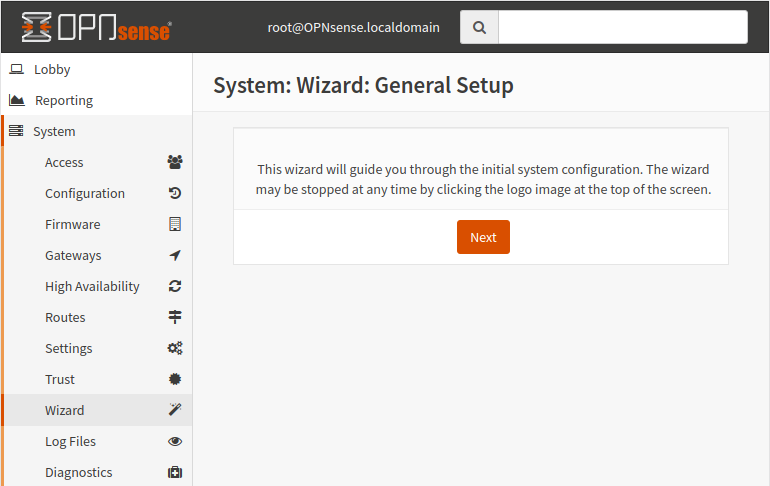
Setup Wizard
You can run the setup wizard to do some initial configuration.
Navigate to System -> Wizard,
or use this url, https://192.168.1.1/wizard.php?xml=system.
Switch to LibreSSL
I prefer to use LibreSSL which is a more secure version of the default OpenSSL.
Navigate to System -> Firmware -> Settings.
Set Firmware Flavour to LibreSSL, then click on the Save button.

Check for Updates
Navigate to System -> Firmware -> Updates to check for updates.
The system might need to reboot after updating.
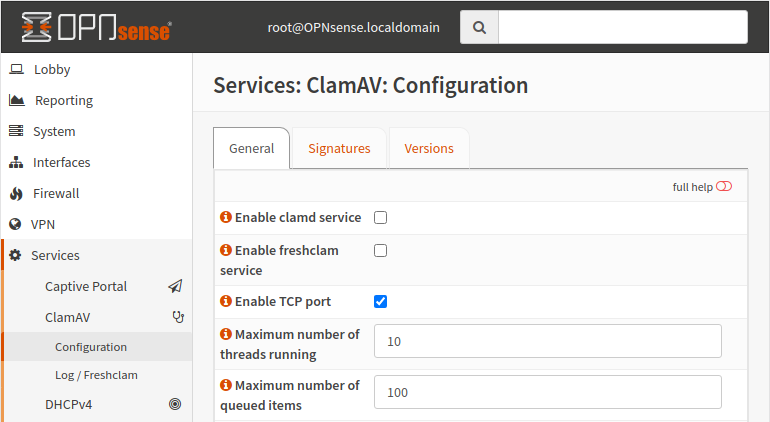
ClamAV
To setup Clam AntiVirus, first install the os-clamav plugin in the plugins page at System -> Firmware -> Plugins.
Once installed, navigate to Services -> ClamAV -> Configuration to configure it.
Official manual page for ClamAV
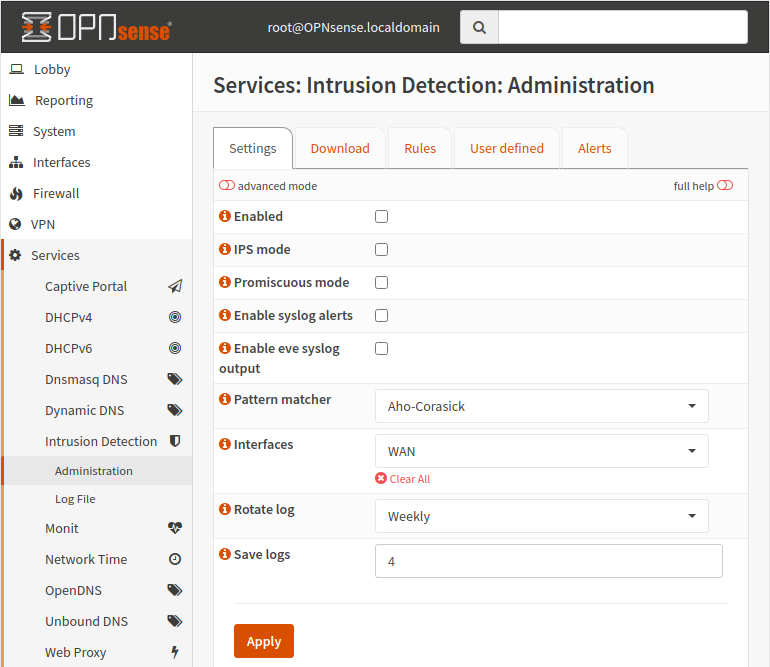
Intrusion Detection
Intrusion Detection is not turned on by default, navigate to Services -> Intrusion Detection -> Administration to configure it.
Official manual page for IDS/IPS
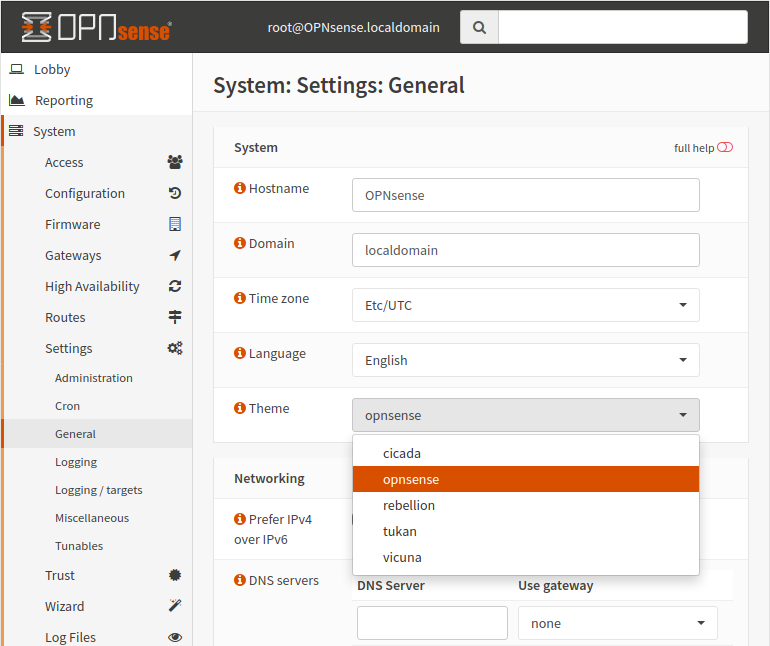
Themes
You can also change the appearance of the web interface by installing theme plugins (os-theme-cicada, os-theme-rebellion, os-theme-tukan, os-theme-vicuna).
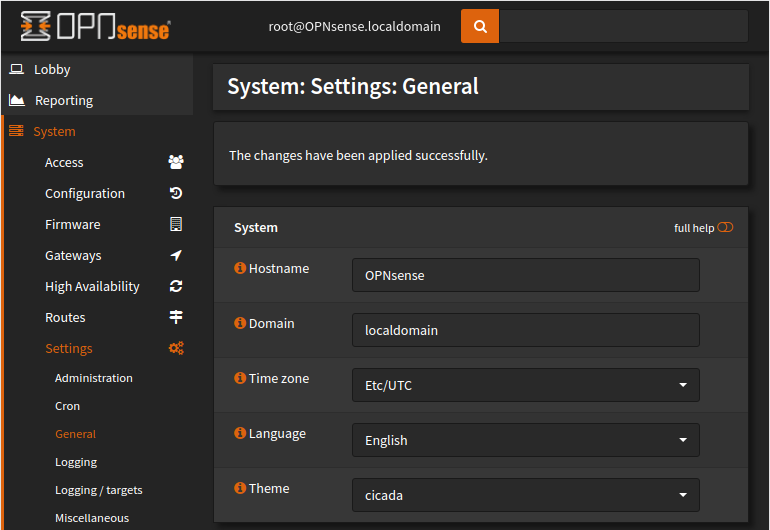
Once installed, navigate to the System -> Settings -> General -> Theme to change to the new theme.
This is an example of a dark theme, Cicada.
Using the API
If you have some coding experience, you can check out the API and maybe do some cool stuff with it.
API Key
To use the API, you will need an API key. Each API key belongs to a user, so to create an API key, navigate to the users page (System -> Access -> Users), then click the Edit button for the user you want to add an API key for.
You can create a new user if you don't want to use the default root user.

Once you are in the edit user page, scroll down to the API keys section and click the Add button.

And you will then get an apikey.txt file that contains something like this. You will need both key and secret strings to call the API.
key=oLDKXryqxGIxFlbXjdzE8qaTn9LXyH+XIf9XXdi1jFOjXbZXXaDmVYxxtcgPxVh99eGixWFX5q7X9qRf
secret=BlWfxB2/lHDeXXYiya6P/1wvjV1sxXjWcvNw7uWg3Ac3kXXsLgRaNXmXxmfY3MhV/FXwxjxnix9bdRTX
REST API
This is the url format for calling the REST API, and the body is an ‘application/json’ object.
https://opnsense.local/api/<module>/<controller>/<command>/[<param1>/[<param2>/...]]API Usage Example
Let me give an example on how to use the API to shut down OPNsense using the curl command.
To shut down OPNsense, we have to call the core.system.halt command which is documented here, https://docs.opnsense.org/development/api/core/core.html
$ curl -k -u "your_key":"your_secret" https://192.168.1.1/api/core/system/halt -vUsing -k (--insecure) flag to ignore the SSL verification, because the server is using a self-signed certificate, which will fail and cause an error.
Using -v (--verbose) flag which is useful for debugging purposes.
If the API command executes successfully, you will hear the shutdown beeping sound from the board, indicating that the system is powering down.
Practical Use Case Example
So now that we are able to programmatically shut down OPNsense, can we make it more useful?
If you are just a simple one user setup, you will find it convenient to automatically shut down the firewall whenever you shut down your computer.
To do so in Linux with systemd, which is the default system manager for most Linux distributions, you can simply add a script to /lib/systemd/system-shutdown/ directory. Scripts in this directory will automatically be executed during shutdown.
Here is an example of a minimal working script. And remember to set executable bit, with $ chmod +x file.
#!/bin/sh
$ curl -k -u "your_key":"your_secret" https://192.168.1.1/api/core/system/halt
Ending Notes
Now that you have a basic firewall up and running, congratulations! You will now feel more secure and can sleep better at night.
But if you are seeking true security, you will know that security is more than just having a firewall. It requires understanding and staying up-to-date with the ever-evolving threats, as well as coming up with strategies and solutions to mitigate them.
Knowledge is power. So if you aren't too experienced, do more reading, check the documentation about the other features and plugins, so that you can customise it better to suit your needs.
A journey of a thousand miles begins with a single step, this is not the end but just the beginning. A firewall is just one part of a good security system, more layers can be added to formulate a Defense in Depth strategy. Cybersecurity is a very interesting field and the rabbit hole goes deep.